
REVIEW · DINGLE TOURS
Slea Head Photo & Sightseeing Tour
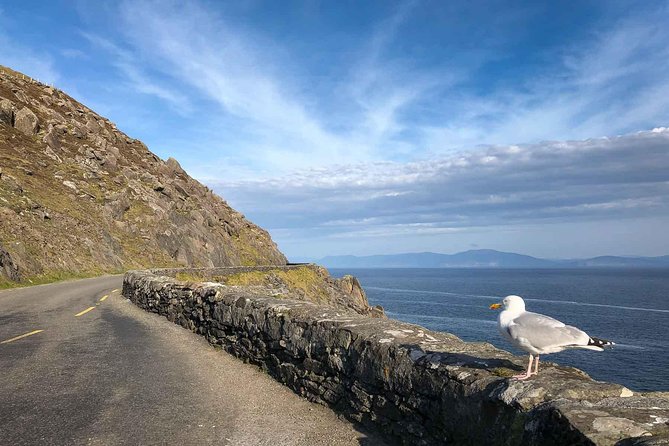
Slea Head is the kind of coastline you remember. This 3.5-hour, small-group tour mixes scenic stops with practical photography help, so you can focus on the views instead of navigating.
I especially like the short, flexible stops that let you step out when the light is good, and I like that your guide will take photos of your group plus share tips for better shots.
The main trade-off is time. You’ll have limited minutes at each spot, and some viewpoints involve uneven ground or stairs, so wear grippy shoes.
In This Review
- Key highlights worth your attention
- Slea Head Tour in plain English: what this day is really like
- Meeting point and how you’ll get there without stress
- Price and what you’re actually paying for
- Stop-by-stop: what you’ll see and what to watch for
- Stop 1: Slea Head Drive (first ocean views after Ventry)
- Stop 2: Cross at Slea Head (quick stroll and photo angles)
- Stop 3: Coumeenoole Beach (low tide makes it better)
- Stop 4: Dun Chaoin Pier (cliff path, Great Blasket Island link)
- Stop 5: Dunquin (rocky beach plus a coastal path)
- Stop 6: Clogher Strand (panoramas, storm beach, and a Star Wars nod)
- Stop 7: Gallarus Oratory (8th-century stone roof)
- Stop 8: Kilmalkedar Church (Romanesque ruins, needle hole, and ogham)
- Stop 9: Back to Dingle (the coast-to-town reset)
- Photography coaching that actually helps on a windy coast
- Who this tour suits best (and who should think twice)
- Weather reality on the Dingle Peninsula
- Should you book the Slea Head Photo and Sightseeing Tour?
- FAQ
- How long is the Slea Head Photo and Sightseeing Tour?
- How many people are in the group?
- Where do I meet for the tour?
- Is pickup offered?
- What languages is the tour offered in?
- Are admission tickets included?
- Are snacks and drinks included?
- What if the weather is bad?
Key highlights worth your attention
- Small group size (max 6): enough breathing room for photos without crowd shuffle.
- Photography help included: tips for scenery and people, plus photos taken using your phone or camera.
- Slea Head Drive in one run: a focused route that hits the signature viewpoints efficiently.
- Beaches chosen for timing: Coumeenoole Strand shines at low tide, and access can vary.
- Ancient sites without the lecture overload: you get to see stone structures up close, fast.
- Iconic Dingle Peninsula set pieces: Great Blasket Island history at Dun Chaoin and a Star Wars filming location callout.
Slea Head Tour in plain English: what this day is really like
This is not one of those days where you spend most of the time gripping a seat and hoping the driver makes the turn you need. It’s a small-van Slea Head circuit, built around the places people come to Dingle to see in the first place. You meet in town, then head out along Slea Head Drive for a steady flow of ocean views, beaches, and old stone sites.
A big part of the value is that you’re not just dropped at photo stops. You get hands-on photo guidance and someone who will take your pictures when you’re traveling as a couple or in a group. That matters on this coast, because the best shots often require someone to manage timing, framing, and who stands where, while you’re actually enjoying the view.
The other reason this tour works is the pacing. Many stops are around 20 minutes, which sounds short until you realize you’re doing what the coast is asking for: look, walk a bit, photograph, then move before the light changes or the tide shifts again.
More of Dingle and Slea Head:
- Exhilarating Rib experience – Dingle sea safari
★ 5.0 · 1,349 reviews - Dingle Dolphin Blasket Adventures
★ 4.5 · 1,126 reviews - The Great Blasket Island Experience – Premium Tour
★ 5.0 · 597 reviews
Meeting point and how you’ll get there without stress
You start at the Dingle Tourist Information Centre at The Quay in Farrannakilla. Pickup happens at the Fungi Dolphin Statue beside the Tourist Office, so you’re easy to spot and you’re not guessing where the van is supposed to be.
It’s also designed for real life. The tour is near public transportation, you get a mobile ticket, and confirmation comes at booking time. If you’re the type who hates last-minute logistics, this route is set up to keep your day simple: get to the meeting point, then let the schedule carry you.
One small practical note: since it’s a photo-focused day, you’ll probably want to have your camera or phone charged and ready, plus any small extras like a lens cloth or a phone strap.
Price and what you’re actually paying for
At $114.14 per person for about 3 hours 30 minutes, the price isn’t just “transport plus viewpoints.” You’re also paying for:
- Private transportation in a small group (max 6)
- photography hints and tips
- a guide who will take photos for you using your devices
For many people, the real comparison is not to another tour name. It’s to the headache factor. On the Dingle Peninsula, turning around, finding parking, and coordinating who takes the picture can eat your time fast. Paying for a guided circuit can be worth it because you gain time for the coast itself.
If you love photography, this is especially good value because the help is built into the experience, not added as some optional extra.
Stop-by-stop: what you’ll see and what to watch for
A different sort of day out in Ireland:
- Full-Day Tour of the Dingle Peninsula, Slea Head, and Inch Beach
★ 5.0 · 494 reviews - Dingle Peninsula and Slea Head Drive Group Tour
★ 5.0 · 427 reviews - Dolphin and Whale Watching Tour from Dingle
★ 4.5 · 318 reviews - Dingle Peninsula Four Hour Private Tour
★ 5.0 · 238 reviews
Stop 1: Slea Head Drive (first ocean views after Ventry)
The tour begins with the Slea Head Drive scenic run, passing the deep-water natural harbour at Ventry before you roll into the best ocean outlooks near Slea Head. This is the part where your brain goes quiet, because the coastline looks dramatic even when the weather is plain.
What I’d do here: get your first photos early, then pay attention to where the light falls. The coast can change quickly, so your “first set” gives you a baseline while you still have energy.
Stop 2: Cross at Slea Head (quick stroll and photo angles)
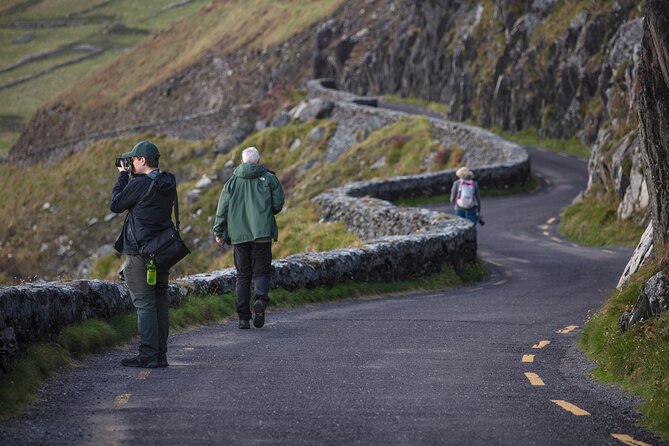
At Slea Head, you get another solid photo window at the Cross at Slea Head. You’ll also have the option to walk along the winding ocean-side road for a few minutes.
This stop is all about variety. One photo is never enough here. If you can, walk a little, then pause, and take photos from a couple of angles. It’s easy to overstay, but the guide’s pacing helps you avoid getting stuck in one spot too long.
Stop 3: Coumeenoole Beach (low tide makes it better)
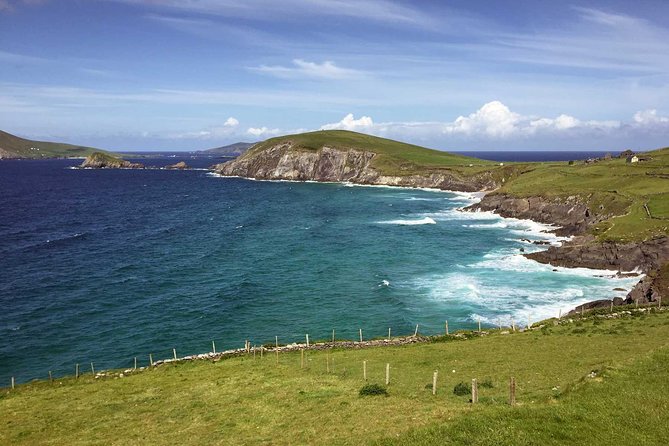
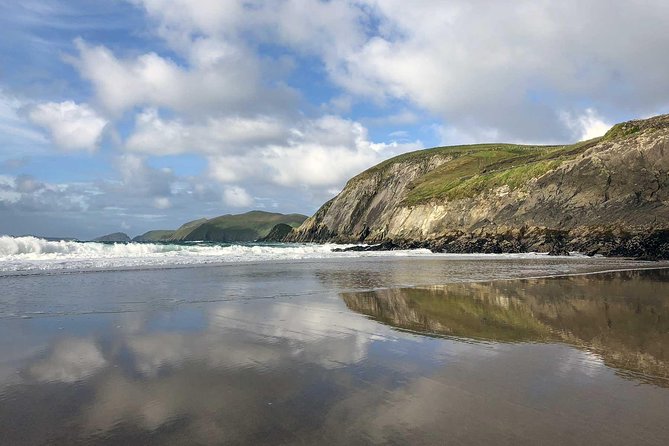
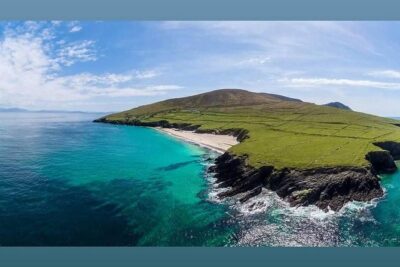
Next is Coumeenoole Strand, a favorite for a reason. You can photograph the rugged coastline, or go with the simple plan, shoes off, and paddle along the edge if conditions allow.
The key thing to know is timing. Fine views are especially good from the beach or the walkway when you’re looking at the coastline at low tide. If you arrive and the water is higher, you’ll still enjoy the spot, but your “sand and shoreline reveal” may be less dramatic.
Bring a dry layer if you tend to get cold in sea wind. Even on sunny days, the coast can flip the temperature in minutes.
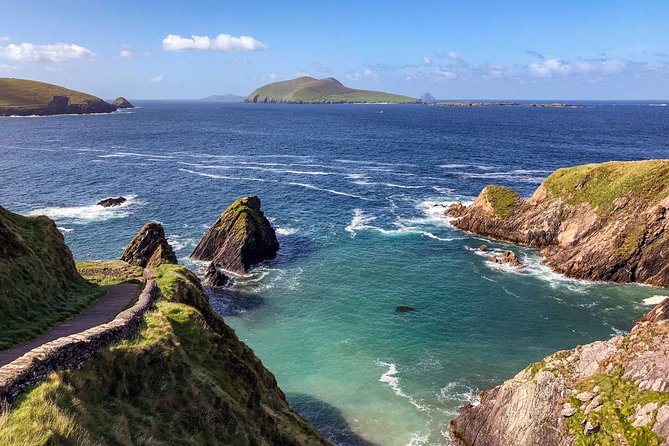
Stop 4: Dun Chaoin Pier (cliff path, Great Blasket Island link)
Then you reach Dun Chaoin Pier, known for the twisting path down to the pier. It’s the historical departure point for settlers on the Great Blasket Island, and today it’s connected to the small boats that visit the island.
This is a stop where you can choose your effort. From the top, you’ll have strong views for photos. If you want lower vantage points, the steep path down can be part of the reward, but you should treat it like a real walk, not a stroll.
Good footwear matters here. If you’re traveling with anyone who doesn’t like uneven steps, you can still get excellent shots from above and skip the steep descent.
Stop 5: Dunquin (rocky beach plus a coastal path)
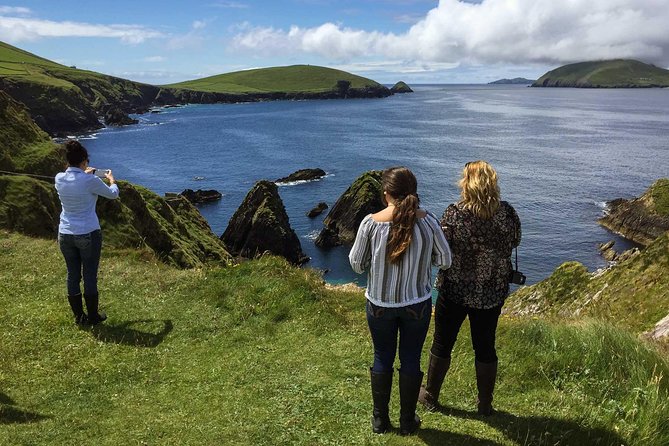
From Dun Chaoin, you continue along single track lanes to Dunquin, where you’ll find an amazing rocky beach and access to a coastal path for longer views across the shoreline.
What makes this stop worth your time is the depth of the scene. You’re looking outward at the rugged coast with the Blasket Islands in the background, so your photos can show layers, not just a flat horizon.
If the wind is strong, focus on steadier shots first, then move slowly. This is one of those places where you’ll want a couple of tries, not just one quick click.
Stop 6: Clogher Strand (panoramas, storm beach, and a Star Wars nod)
Clogher Strand is a wide-open vista on the western edge of the Dingle Peninsula, with views across to a Star Wars filming location mentioned for 2016.
The tour also calls out the storm beach at Clogher. Access depends on the tide, so this stop can feel different from day to day. You might also get close to secluded rocky beaches and rugged coves via a short drive.
This is the best “big view” moment in the middle of the tour. Take advantage of the extra time here (it runs longer than most stops). I’d use that time to:
- get a panoramic shot
- then try a lower perspective photo if the tide and footing allow it
Even when the light is average, the textures of rock and sea create photos that still feel interesting.
Stop 7: Gallarus Oratory (8th-century stone roof)
After the ocean stops, the route shifts inland toward Gallarus Oratory, an 8th-century stone-roofed building. It’s one of those spots where the architecture does half the storytelling for you.
At this stop, don’t rush. Step back, look at the shape, then come closer. You’ll usually find your best photo by changing position rather than changing settings.
Stop 8: Kilmalkedar Church (Romanesque ruins, needle hole, and ogham)
Next is Kilmalkedar Church, a 12th-century Romanesque ruin built on an earlier monastic site. The detail that gets people is the standing stone with a “needle hole” and ogham script carved down the side, plus a large cross carved nearby.
This stop is short, but it’s the most “readable” of the historical elements if you slow down for a moment. Look for the stone features, then get one wider shot of the church in the rural setting.
If you’re not chasing museum-style facts, you’ll still enjoy this because the carvings are visible and photo-friendly.
Stop 9: Back to Dingle (the coast-to-town reset)
Finally, you return to Dingle after a scenic drive, and your tour ends back at the meeting point. This part is practical, not dramatic, but it closes the loop nicely: you get the full Slea Head circuit without needing to drive yourself.
Photography coaching that actually helps on a windy coast
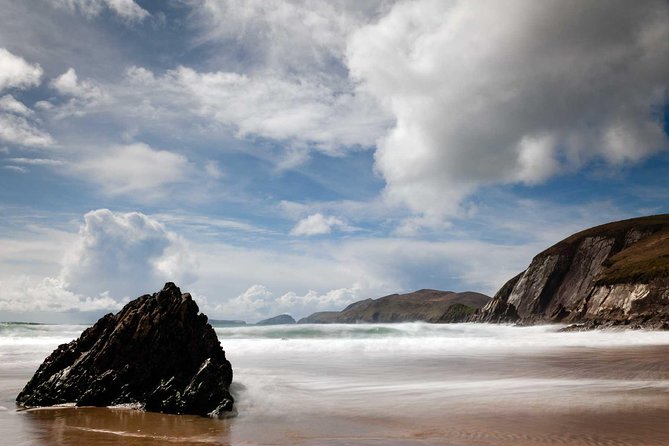
This tour is built around photography support, and you can feel it in how the stops are structured. The guide offers photography hints and tips for capturing nicer images of people and scenery, and he’s happy to take photos of you and your group using your phone or camera.
Here’s how to get the most out of that in real life:
- Take one test shot early in each stop so you can judge wind and lighting fast
- Ask for help right away if you’re trying to include multiple people
- Wear something that looks good against dark stone and bright sea (you don’t need a fancy outfit, just avoid colors that blend into the rocks)
If you’re traveling as a couple, this is a big win. Instead of playing photographer roulette, you can relax while someone handles framing for at least a few shots.
Who this tour suits best (and who should think twice)
This tour fits you well if:
- you want a focused Slea Head route rather than hours of self-driving
- you care about photography and want guidance, not just viewpoint time
- you prefer a small group setting where you can actually get out and walk
- you like mixing coastline with short stops at stone sites
It might feel less ideal if:
- you dislike steep paths, uneven ground, or walking down toward piers
- you want a long, deep historical lecture (this is more about seeing and photographing than delivering a classroom-style timeline)
- you’re expecting one stop to last forever. Most are about 20 minutes, and the pacing is the point
Weather reality on the Dingle Peninsula
This experience requires good weather. The coastline is beautiful in all kinds of conditions, but the tour is set up to run when visibility and conditions let you enjoy the walkways and photo stops safely.
If weather is poor and the tour can’t run, you’ll be offered a different date or a full refund. The key is to check forecasts and pack for wind.
Should you book the Slea Head Photo and Sightseeing Tour?
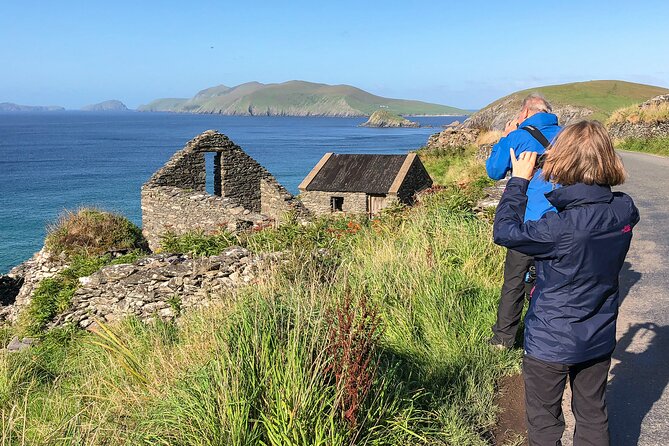
I’d book this if you’re coming to Dingle for a first look at the Slea Head coast and you want your day to feel efficient, photo-friendly, and not stressful. The combination of small-group touring, guide-led photography support, and a route that hits big-name spots like Coumeenoole Strand and the Dunquin coastline makes it a strong use of half a day.
Book sooner rather than later if you can. The tour is commonly booked in advance, which usually means people know it’s worth doing.
If you want total freedom, you can drive the loop yourself. But if you want someone to handle the stops, take your photos, and help you get better images with less hassle, this is an easy choice.
FAQ
How long is the Slea Head Photo and Sightseeing Tour?
It runs for about 3 hours 30 minutes.
How many people are in the group?
The tour has a maximum of 6 travelers.
Where do I meet for the tour?
Meet at the Dingle Tourist Information Centre on The Quay, Farrannakilla, Dingle (near the Fungi Dolphin Statue beside the tourist office).
Is pickup offered?
Yes. Pickup details point to the Fungi Dolphin Statue beside the Tourist Office in Dingle.
What languages is the tour offered in?
The tour is offered in English.
Are admission tickets included?
Yes. The stops list admission ticket free for each location.
Are snacks and drinks included?
No. Snacks and drinks are not included.
What if the weather is bad?
The experience requires good weather. If it’s canceled due to poor weather, you’ll be offered a different date or a full refund.
Freshly listed around Dingle
- Full Day Private Cultural Tour in Dingle Peninsula★ 5.0 · 31 reviews
- Dingle Peninsula Day Tour from Limerick: The Wild Atlantic Way★ 4.5 · 50 reviews
- The Wild Coast of Dingle Peninsula and Slea Head from Killarney★ 5.0 · 18 reviews
- Private tour of Dingle and Slea Head with accredited guide★ 5.0 · 55 reviews
- Private Tour: Dingle Peninsula from Kerry. Waterville, Tralee etc★ 5.0 · 26 reviews
- Dingle Peninsula & Slea Head – Private Mini Bus Tour★ 5.0 · 8 reviews
- Luxury Photography Day Tour on Dingle Peninsula – Fully Guided and Chauffeured★ 5.0 · 8 reviews
- Private Full-Day Tour to Dingle and Slea Head★ 5.0 · 11 reviews
Dingle Tours, compared.
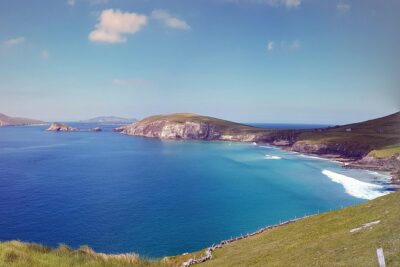
Exhilarating Rib experience – Dingle sea safari
Read our review →
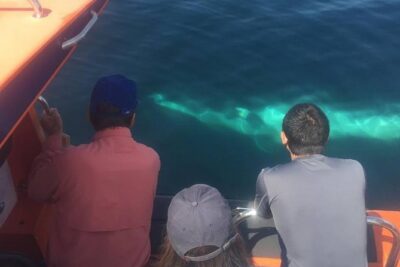
The Great Blasket Island Experience – Premium Tour
Read our review →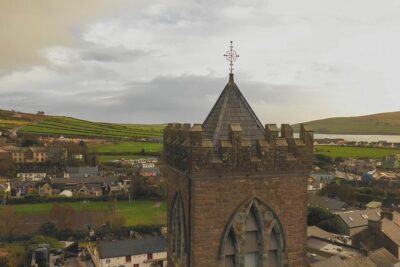
Full-Day Tour of the Dingle Peninsula, Slea Head, and Inch Beach
Read our review →Dingle Peninsula and Slea Head Drive Group Tour
Read our review →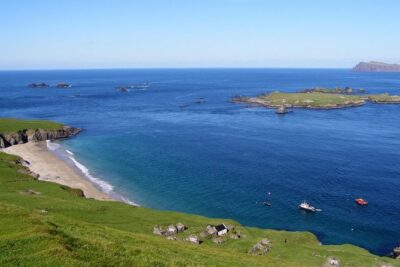
Browse the lists this tour appears in